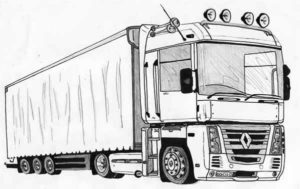
How to Draw Semitruck Step-by-Step Instructional
Find out how to draw a semi-truck easily!
 With a spacious cab and cargo bay and aggressive array of large wheels this simple semi cab can be transformed into a plethora of imaginative transportation solutions. Even better, it only takes you minutes to draw your first, but hopefully not last, Semi Truck.
All you need is a paper, pen and pencil. You can draw freehand with the pencil while following the indications on this how to draw Semitruck step-by-step instructional and then ink in everything you want to keep at the end. Let’s get started!
1. The Outline
The first step is to draw in the basic shapes. You can create the cab and as many trailers as you like from different sized rectangles. Try this sin different arrays to find the design that fits your subject the best. These can be assembled in 3D if you have the skills with perspective.
Remember that the best drawings are completed by capturing the larger shapes within the subject first and filling in the details at the end.
2. Wheels
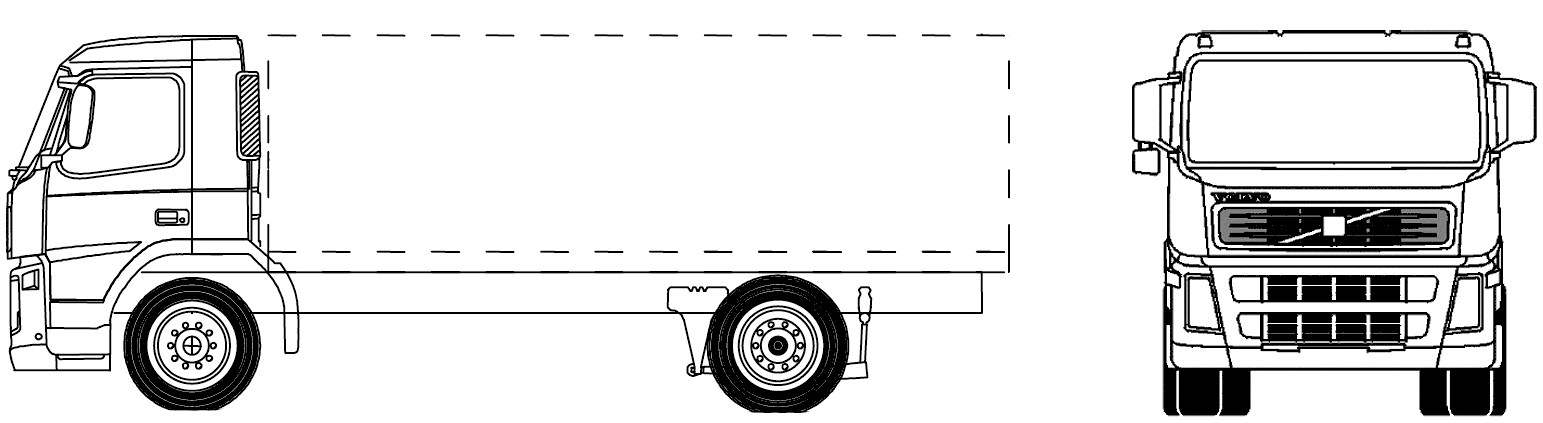 2D drawings can make a nice row even sized circles at the base of the rectangles to depict the wheels. If you are drawing a 3-quarter view in 3D you can use ellipses to depict the wheel from the side. Make sure you complete the 3D effect by adding the dark ellipses of wheels seen on the other side.
Don’t forget to leave the space for the gas tank between the first and second wheels beneath the cab.
3. Wheels and Gas Tank
The gas shape can be any shape you’d like, although the cylindrical tank is most common on conventional semi-trucks. If you are drawing this in 3D, connect two identical ellipses to make a cylinder erase what can’t be seen.
A small circle can make the gas tank cap, connect this to the tank with two small lines. Add shading and trademarks to the tires for extra realism.
Want to learn more about drawing? Check out “Pencil Drawing Made Easy!“!
4. Windows, Windshield and Grille
You will need a set of smaller rectangles to create windows. If you will draw your Semi truck in 3D you will need to use slanted lines that run parallel to the sides of the cab and roof. Connect these at the bottom with a straight line that closes the parallelogram. The same idea can be used for the grille that will directly under the windshield.
Add the details to make the windows, windshields and grille look more realistic. Smaller rectangles can be headlights and directional signals. The windshield needs wipers for rainy days and a couple straight lines drawn swiftly and lightly can give the illusion of a reflective surface.
5. Add the Details
 Draw in the doors following the clues you have already placed with the windows. A tiny rectangle can be a great door handle. Underneath the door should be a set of steps or footholds to allow the driver to climb easily into the tall cab.
Finish the tires with small semicircles indicating lug nuts shaded on a single side. There should be eight in total.
When you have completed your drawing remember two things, your next one will always come out a little better and this how to draw Semitruck step-by-step design can be used to create far more creative and fantastical designs. Don’t forget a little color!
Be Sure To Check Out Our Other Articles:
Tips On How To Easily Draw Flames On A Car
How To Draw A Race Car
 Car racing is a very rapidly growing entertainment around the world. Before there wasn’t much craze about car racing in kids but now racing cars are really popular among the youth and mostly in kids. Drawing is another creative and popular things in kids. To draw their favorite and to watch and play with race cars is something that every kid loves (boys in common).
 cabins) of racing cars are all based on the normal road cars that most people have (not including SUVs or any big vehicles) and due to this, does not need anything special drawn with it.
 If you have to stray to figure out how to draw flames and make them look cool and rather not drawings that look like crab claws, you should not be worried. Drawing a cool flame can be difficult but with practice attaining the ability to draw nice flames is possible. It does not mean also that you need to be a good drawer or a talented one for you to be able to achieve this. Consistent practice and making attempts can lead you to achieve this incredible ability. One thing you have to be sure of is that you do not have to start out as an expert. Learning the Tips on how to draw flames on a car easily starts from a novice point. You need to be dedicated and committed to getting there. You will, therefore, start from trial and error point and develop slowly and get to the point that you want to be.
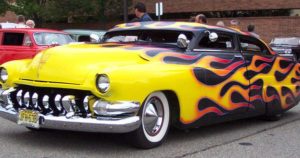
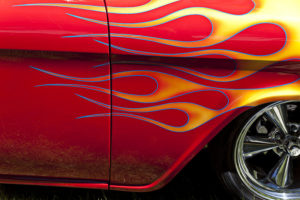 the services of 3M which specializes in making a kit that has everything you would want to have the image on your car. The adhesive paper that they provide you with allows you to print any image on it. This, therefore, means that you can draw the flame on it easily and have it on your car. Once you have drawn the flame you can cut the adhesive and stick it on your car. This method is very effective because it reduces the hustle that you have to go through by masking the section to be drawn. The kit that they provide you with is known as a Custom Image Kit.